How to Install WordPress on Nginx on Ubuntu Server
In this tutorial, we are going to learn how to install WordPress on Nginx Web Server. We are running Nginx on Ubuntu Server.
Preparing the Server
Before you start installing WordPress, make sure that you have LEMP (Nginx, MySQL, PHP) installed on your server. You can install LEMP on Ubuntu by running the following set of commands:
apt update
apt install nginx php-fpm php-mysql mysql-server
In the following example, we are going to install WordPress on the "www.example.local" domain name. You can use your own fully qualified domain name.
When setting up the Virtual Host configuration, we are going to follow the common convention used in Ubuntu. That is to create a separate virtual host for our WordPress website site in the sites-available directory and then create a symlink in the sites-enabled directory to enable the WordPress website.
Instructions
Following are the steps to install WordPress on Ubuntu Nginx Server:
- Create a MySQL Database and a User.
- Download WordPress.
- Setup wp-config.php.
- Create a Virtual Host for WordPress.
Create a MySQL Database and a User
First of all, we need to create a MySQL Database and User with privileges to access the database. We are going to use the MySQL console for this purpose.
CREATE DATABASE wordpress;
CREATE USER 'wordpress'@'localhost' IDENTIFIED WITH mysql_native_password BY 'pass123';
GRANT ALL PRIVILEGES ON wordpress.* TO 'wordpress'@'localhost';
This will create a database called wordpress, and a user called wordpress with the password 'pass123'.

Download WordPress
Next, we will download the latest version of WordPress by running the following command:
wget https://wordpress.org/latest.tar.gzAfter the download is complete, extract the tar file to the /var/www directory:
tar -zxvf latest.tar.gz -C /var/www/Rename the wordpress folder in the /var/www directory to match with your domain name:
cd /var/www/
mv wordpress example.local
It is not a necessity to rename the wordpress folder after your domain name. But it is a good practice to name the website document root match with the website name, especially when you want to host more than one website on a single Nginx server instance.
Setup wp-config.php
Go to the /var/www/example.local/ folder and rename wp-config-sample.php to wp-config.php as follows:
cd /var/www/example.local/
mv wp-config-sample.php wp-config.php
Next, open the wp-config.php and update the database settings: DB_NAME, DB_USER, and DB_PASSWORD to match with your WordPress database, MySQL user, and the Password, respectively.

Create a Virtual Host for WordPress
Now we need to set up a new Nginx virtual host for our WordPress website. To do that first, create a file called example.local.conf in the /etc/nginx/sites-available folder.
touch /etc/nginx/sites-available/example.local.confAfter that, edit the example.local.conf file so that it looks like the following:
server {
    listen 80;
    listen [::]:80;

    server_name www.example.local example.local;

    root /var/www/example.local;
    index index.php index.html;
    access_log /var/log/nginx/example.local_access.log combined;
    error_log /var/log/nginx/example.local_error.log;

    location / {
         try_files $uri $uri/ /index.php?q=$uri&$args;
    }

    location ~* \.(jpg|jpeg|gif|css|png|js|ico|html)$ {
        expires 180d;
    }

    location ~ ^/wp-json/ {
        rewrite ^/wp-json/(.*?)$ /?rest_route=/$1 last;
    }


    location ~ \.php$ {
        include snippets/fastcgi-php.conf;
        fastcgi_pass unix:/var/run/php/php-fpm.sock;
    }
}
To enable the website, create a symlink to the example.local.conf in the sites-enabled directory:
ln -s /etc/nginx/sites-available/example.local.conf /etc/nginx/sites-enabled/After that, restart the Nginx web server for the changes to take effect:
systemctl restart nginxWith that, we're done with the server-side configuration. Our Nginx Server on Ubuntu now ready to install WordPress.
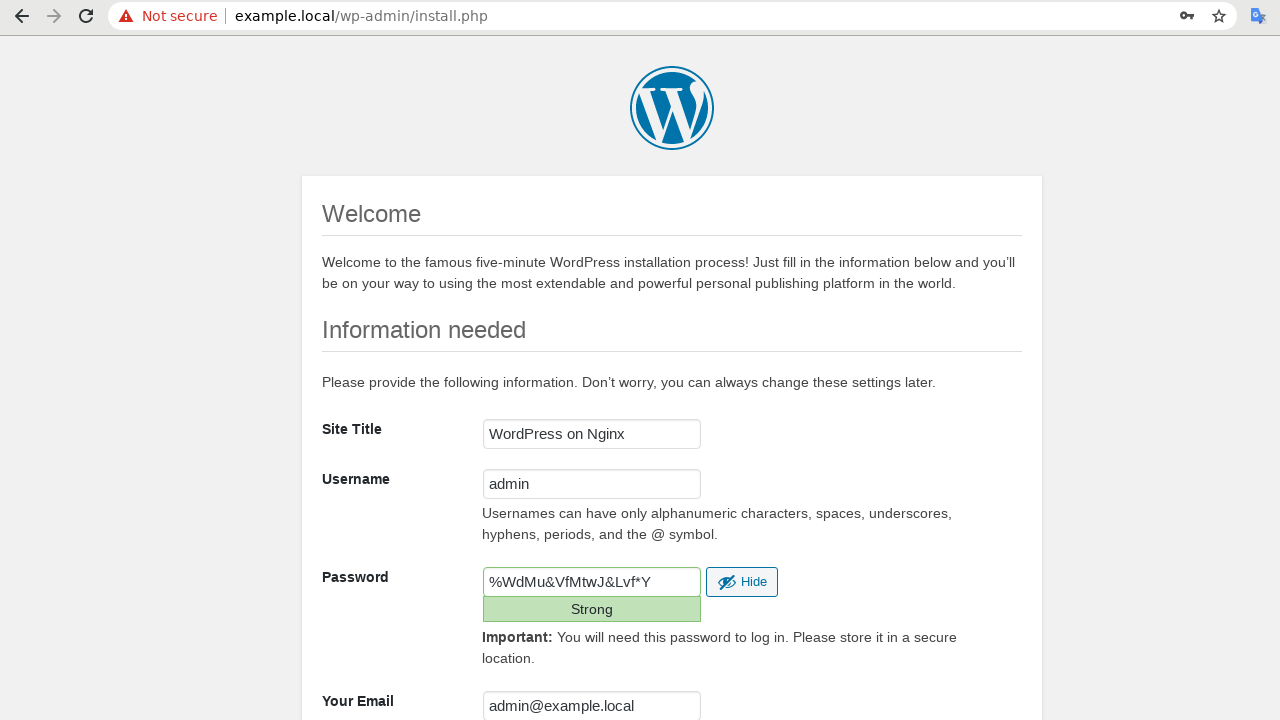
You can now run the web-based WordPress installer by visiting http://example.local/wp-admin/install.php (replace example.local with your own domain name).
After installing WordPress, now you can update the WordPress permalink structure to search engine friendly URL format in the Settings | Permalinks section.
Changing permalink is possible because of the following rewrite rule in our Nginx configuration inside the server block.
location / {
    try_files $uri $uri/ /index.php?q=$uri&$args;
}
Without this rewrite rule, you may receive a 404 Not Found error.

That completes our WordPress install guide for Ubuntu Nginx Web Server. You can follow the same steps to install any number of WordPress websites on a single Nginx Server.